This post contains affiliate links. As an Amazon associate I earn qualifying purchases. Click here for more about this policy.
Create a vegan dessert that is sweet, satisfying, and good for you with these Gluten-Free Raspberry Bars. Each bar has 8 grams of protein and 6 grams of fiber, so they will satisfy your sweet tooth and your hunger.
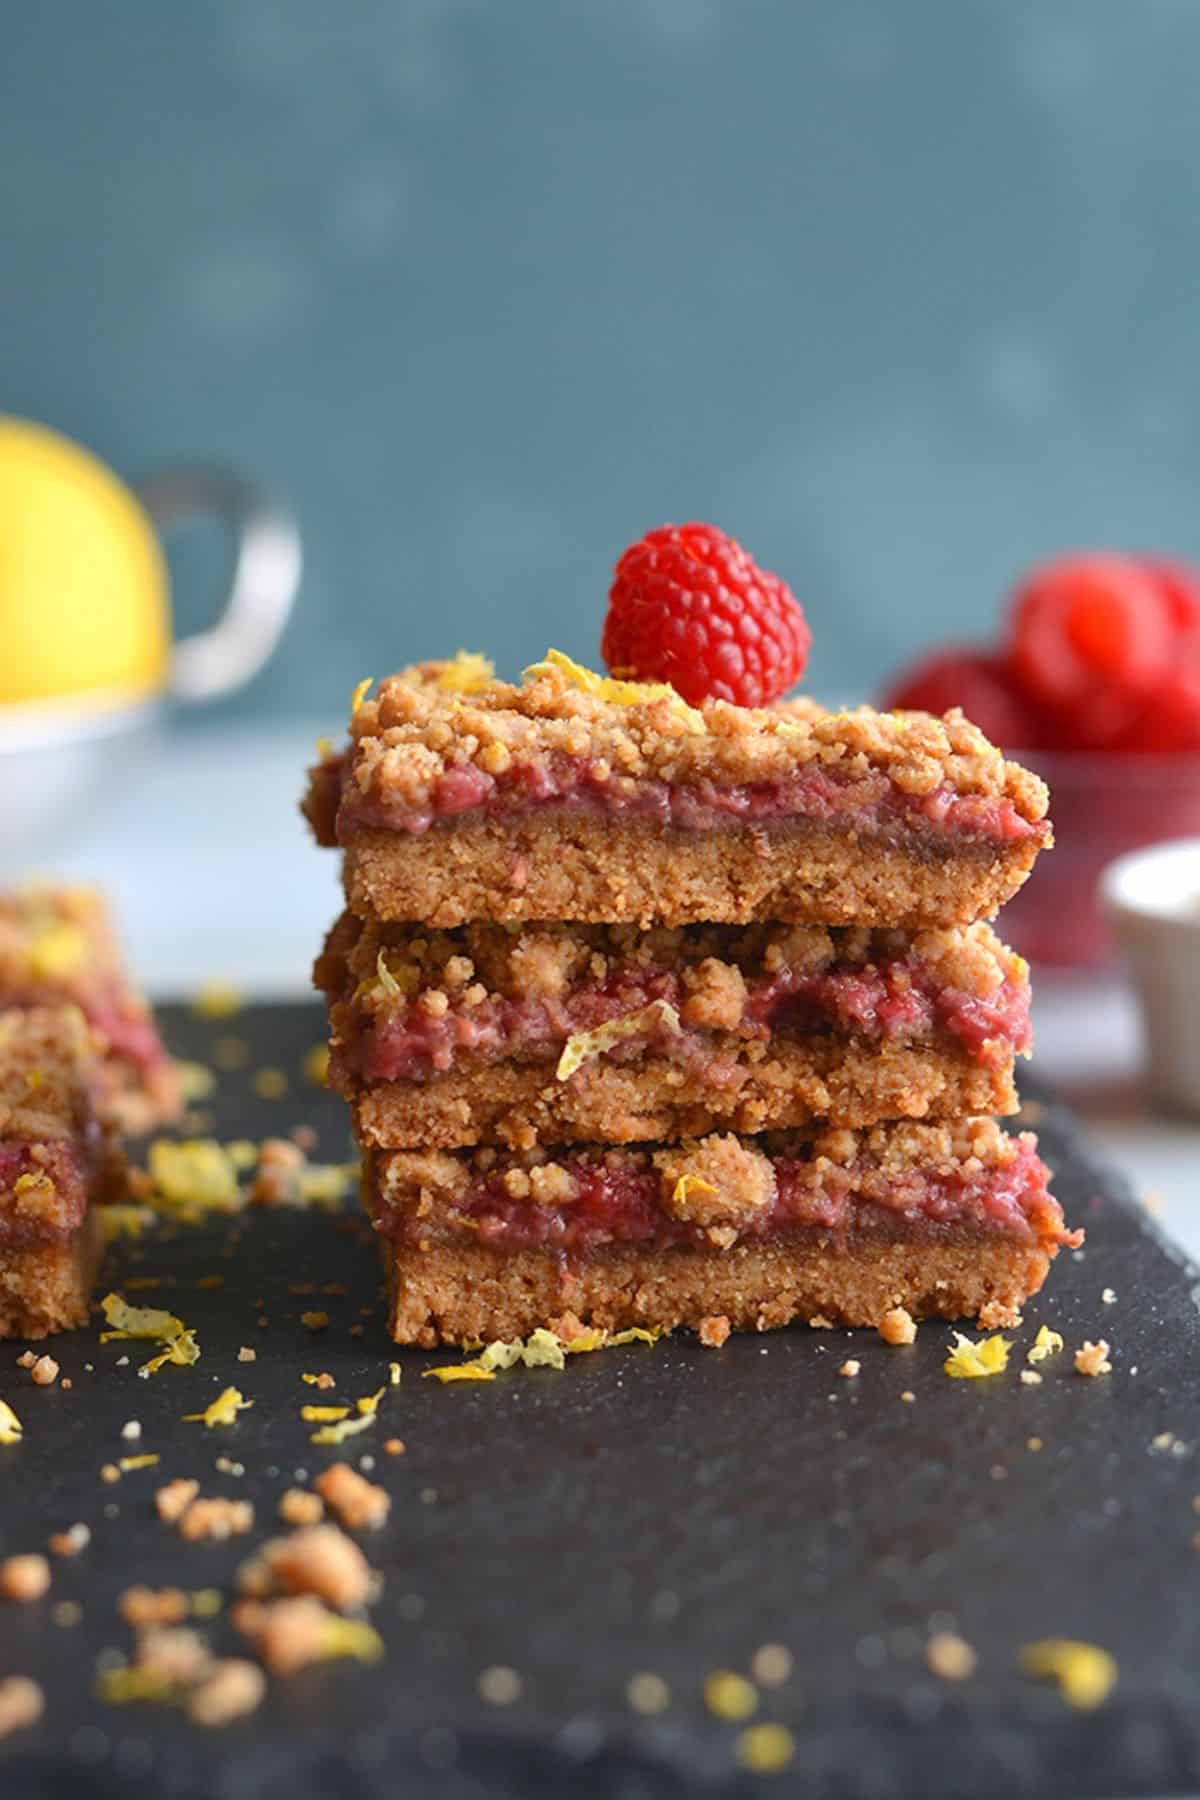
I love keeping these healthy raspberry crumble bars in the freezer for whenever the desire for dessert strikes. They taste similar to a classic crumble, but skip the butter and processed sugar.
Instead, these bars use a combination of protein-and fiber-packed coconut and almond flours, along with peanut butter and olive oil for the crust, and a filling of fresh raspberries and coconut sugar.
Whether you’re Paleo, vegan, gluten-free, or dairy-free, this is the dessert for you. If you like raspberry recipes, you will love my raspberry chocolate brownies and raspberry oatmeal cookies!
Why You’ll Love This Recipe
- Gluten-Free, Dairy-Free, and Vegan: These delicious gluten-free raspberry bars are the perfect dessert for a variety of lifestyles and diets. They are naturally gluten-free, dairy-free, vegan, and fit the Paleo diet as well.
- Protein and Fiber: Often, desserts don’t have much protein or fiber, but these bars have 8 grams of protein and 6 grams of fiber from the combination of flours and nut butter.
- Lower Sugar than Store-bought Bars: Instead of processed sugar, these bars use coconut sugar to sweeten them, so they have way less sugar than any premade dessert.
Table of Contents
Ingredients
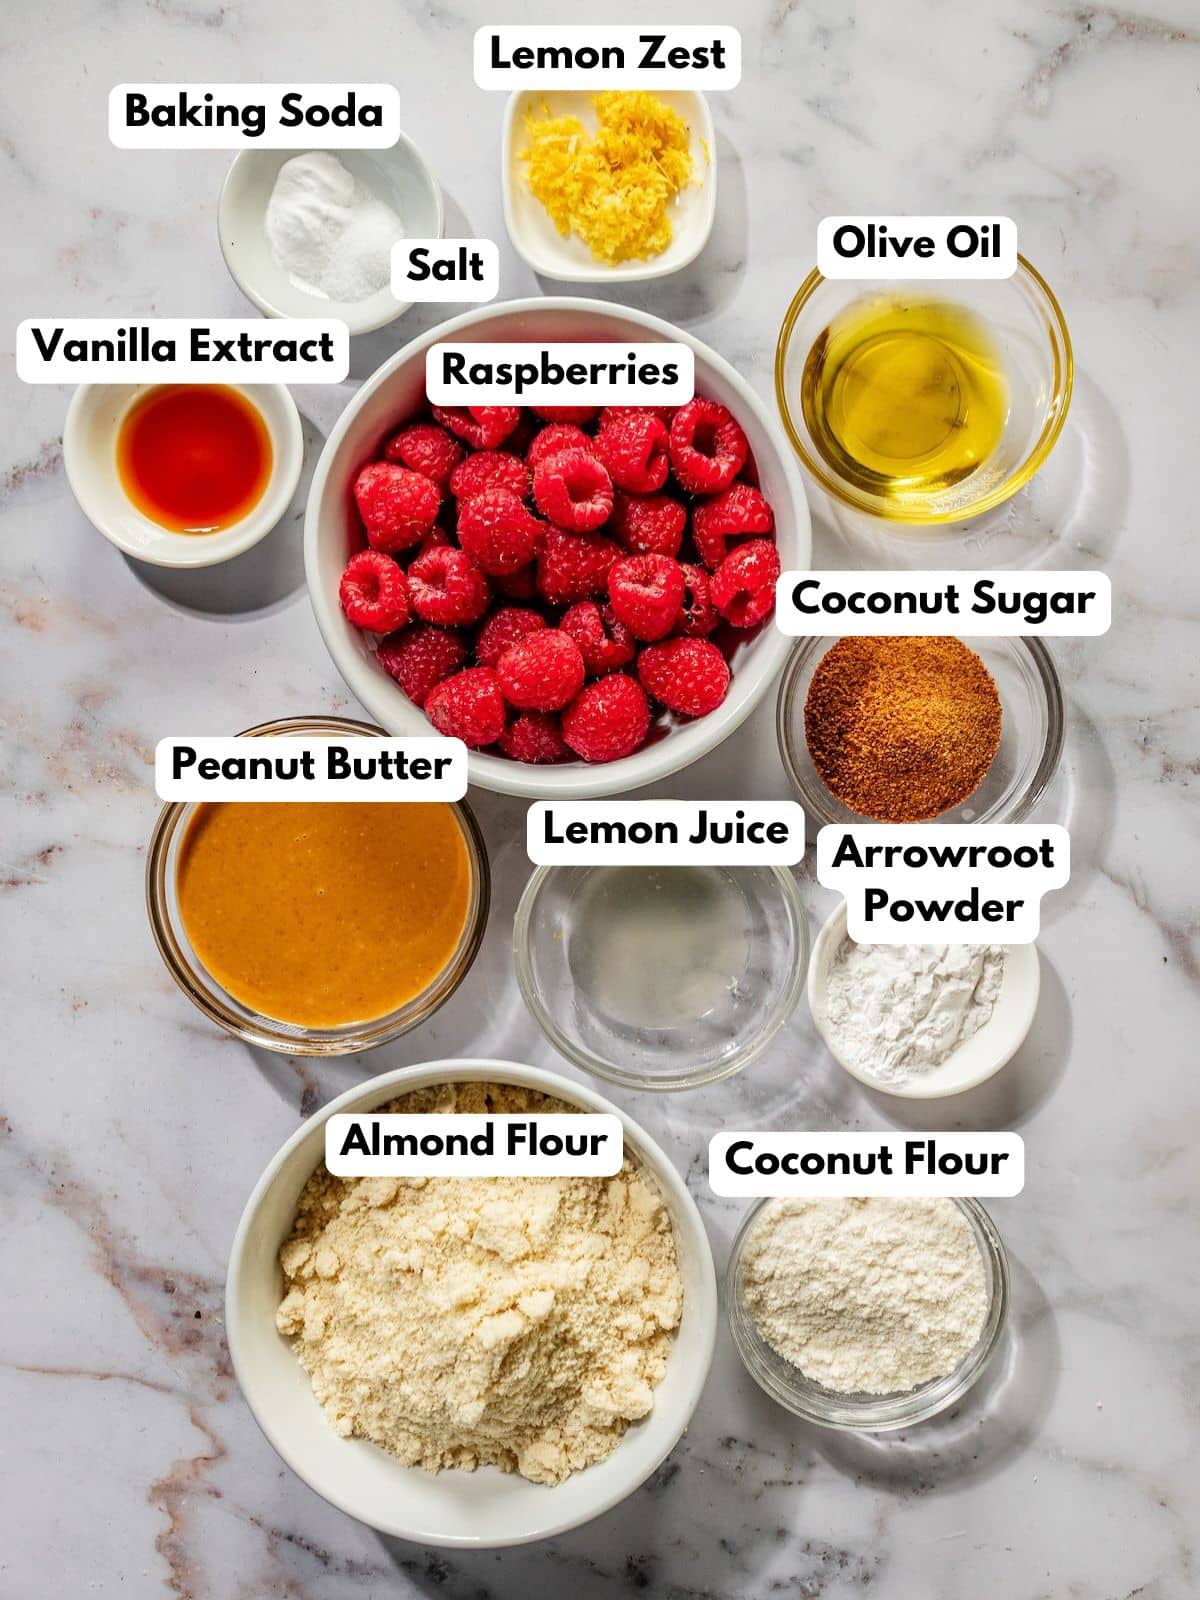
- Almond Flour: This flour is great for low-carb baking and adds natural oils and moisture to your crust, along with a subtle nutty flavor.
- Coconut Flour: You can thank the coconut flour for the boost of fiber in these raspberry dessert bars. It also has fewer carbs, so it’s great for low-carb diets.
- Coconut Sugar: This naturally derived sugar has a lower-glycemic index than regular sugar and a deeper caramel flavor, which is great for low-carb, low-sugar baking.
- Peanut Butter: Nut butter adds protein and moisture to the crust, along with a rich flavor.
- Raspberries: Use fresh or frozen raspberries to cook the thick, rich berry filling for your bars.
See the recipe card below for exact ingredient amounts, nutritional information, and detailed instructions.
Variations & Dietary Modifications
- Try with Other Berries: You can make these bars with other sweet berries, like blackberries, blueberries, or strawberries. You could even make them with cherries, like in my cherry oatmeal bars.
- Drizzle with Chocolate: Melt rich dark chocolate and lightly drizzle it over the top of your bars to satisfy those chocolate cravings.
- Use a Different Nut Butter: I’ve tested this recipe with both peanut butter and almond butter. If you are strictly Paleo, use almond butter or cashew butter.
How to Make Gluten-Free Raspberry Bars
These vegan gluten-free raspberry bars are easy to make and even easier to eat. They make for one of those great, sweet treats you can store in the freezer and grab when the mood strikes.
To make them, you need an oven preheated to 350°F and a parchment paper-lined baking pan.
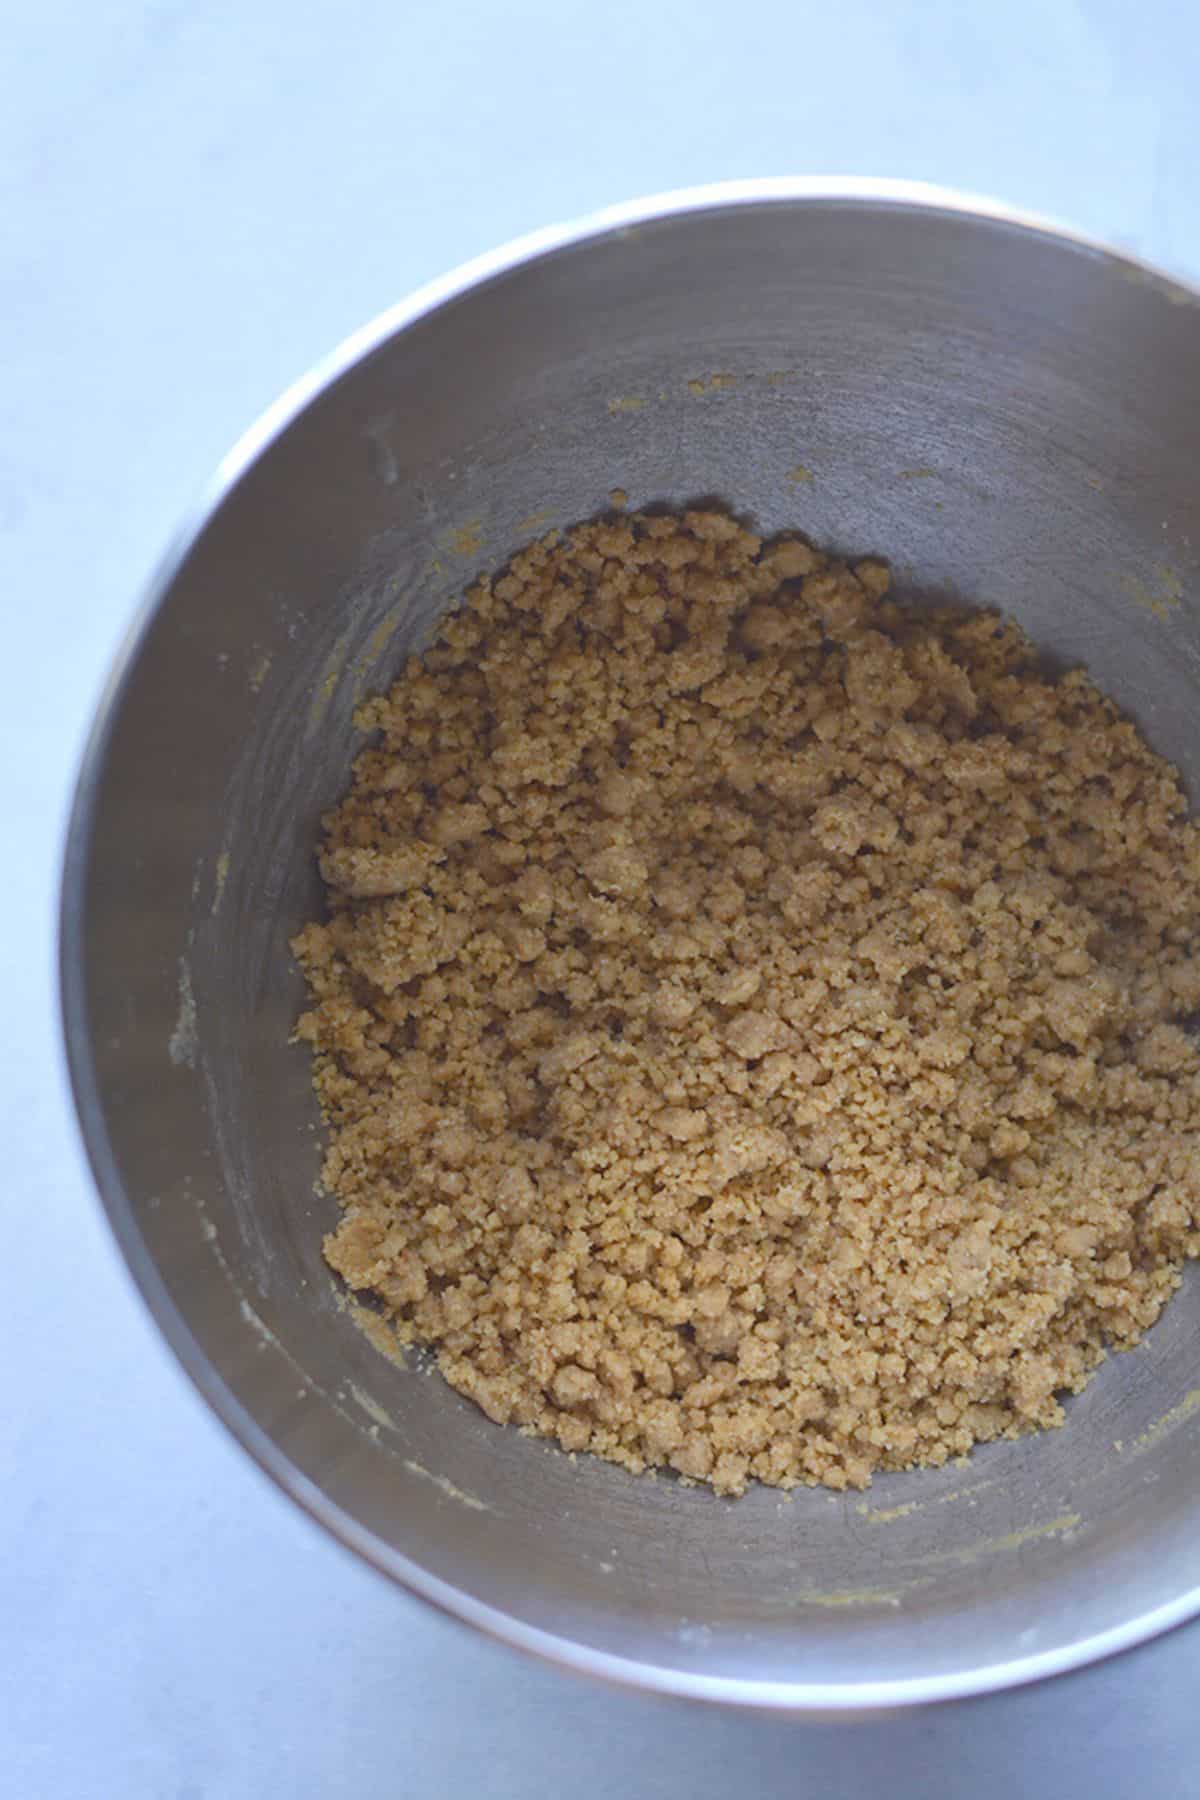
- Step 1: Combine the Crust Ingredients. Combine the almond flour, coconut flour, baking soda, and coconut sugar. Separately in a stand mixer, combine the peanut butter, vanilla extract, salt, and coconut oil. Then add the flour mixture to it and blend until the mixture turns crumbly.
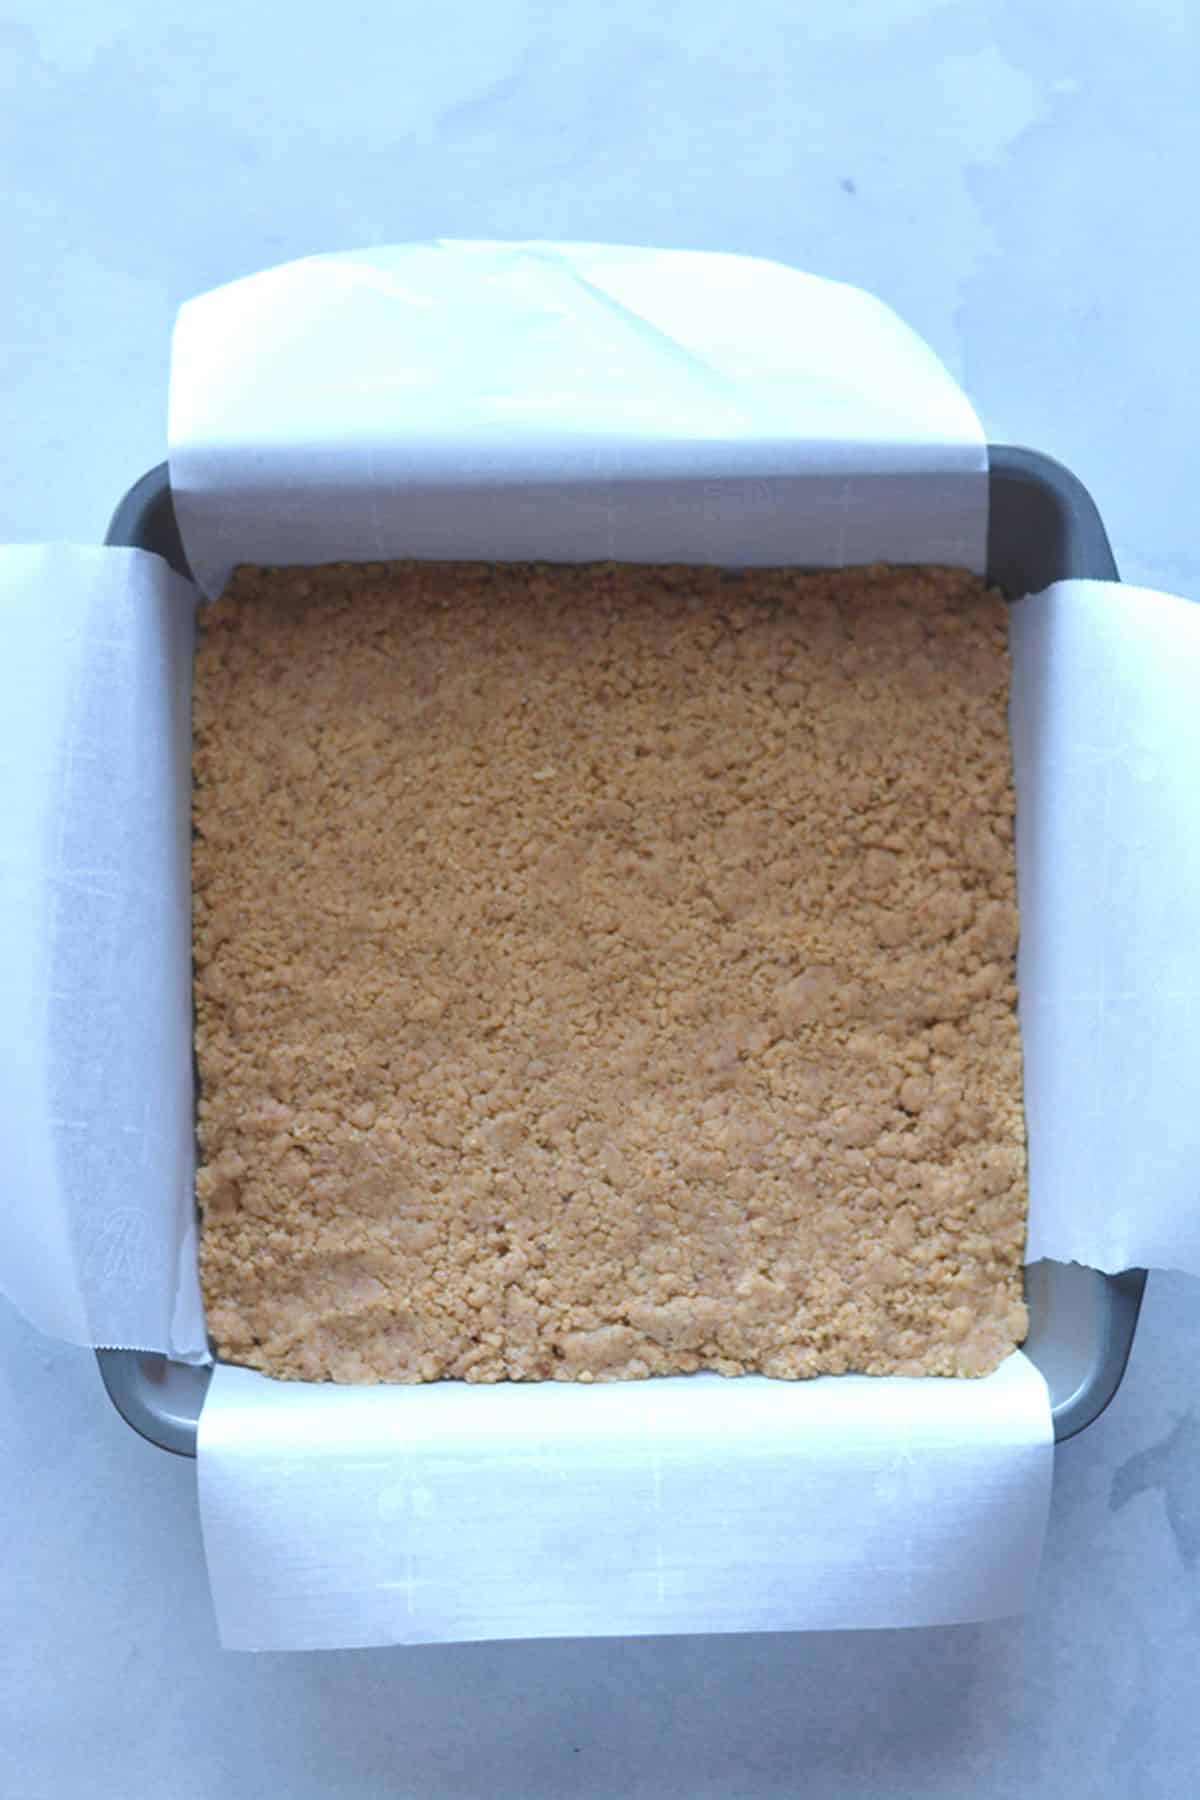
- Step 2: Press the Mixture Into the Pan. Transfer ¾ of the crust mixture to the prepared baking pan and use your fingers to press the dough into the bottom and corners. It should easily stick together. Bake the crust at 350°F for 10 minutes.
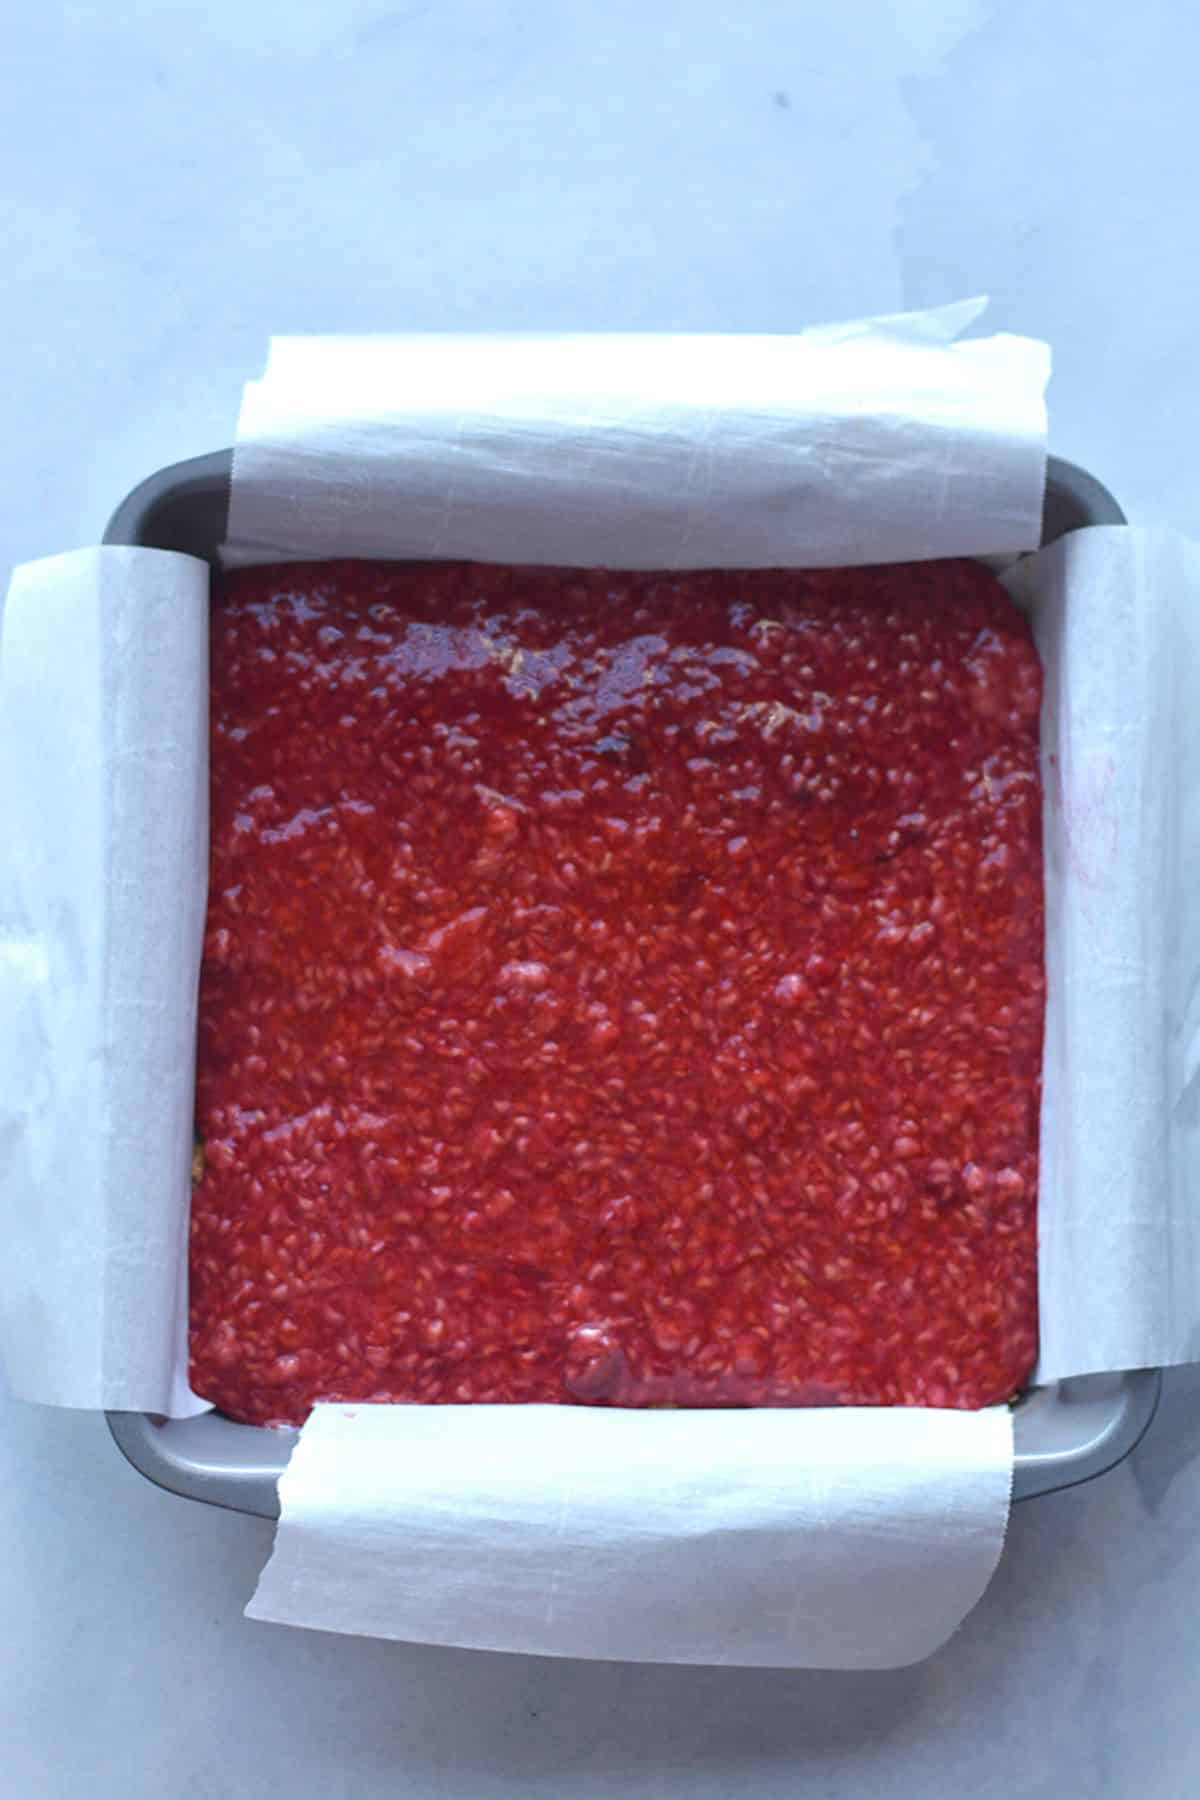
- Step 3: Make the Raspberry Filling. While the crust bakes, prepare your raspberry filling. Add the raspberries, coconut sugar, and lemon juice to a saucepan over medium heat. While it’s heating, use a spatula to break up the berries. Then stir in arrowroot powder and let the filling simmer and thicken for about 5 minutes. Set the filling aside to cool and further thicken for another 5 minutes.
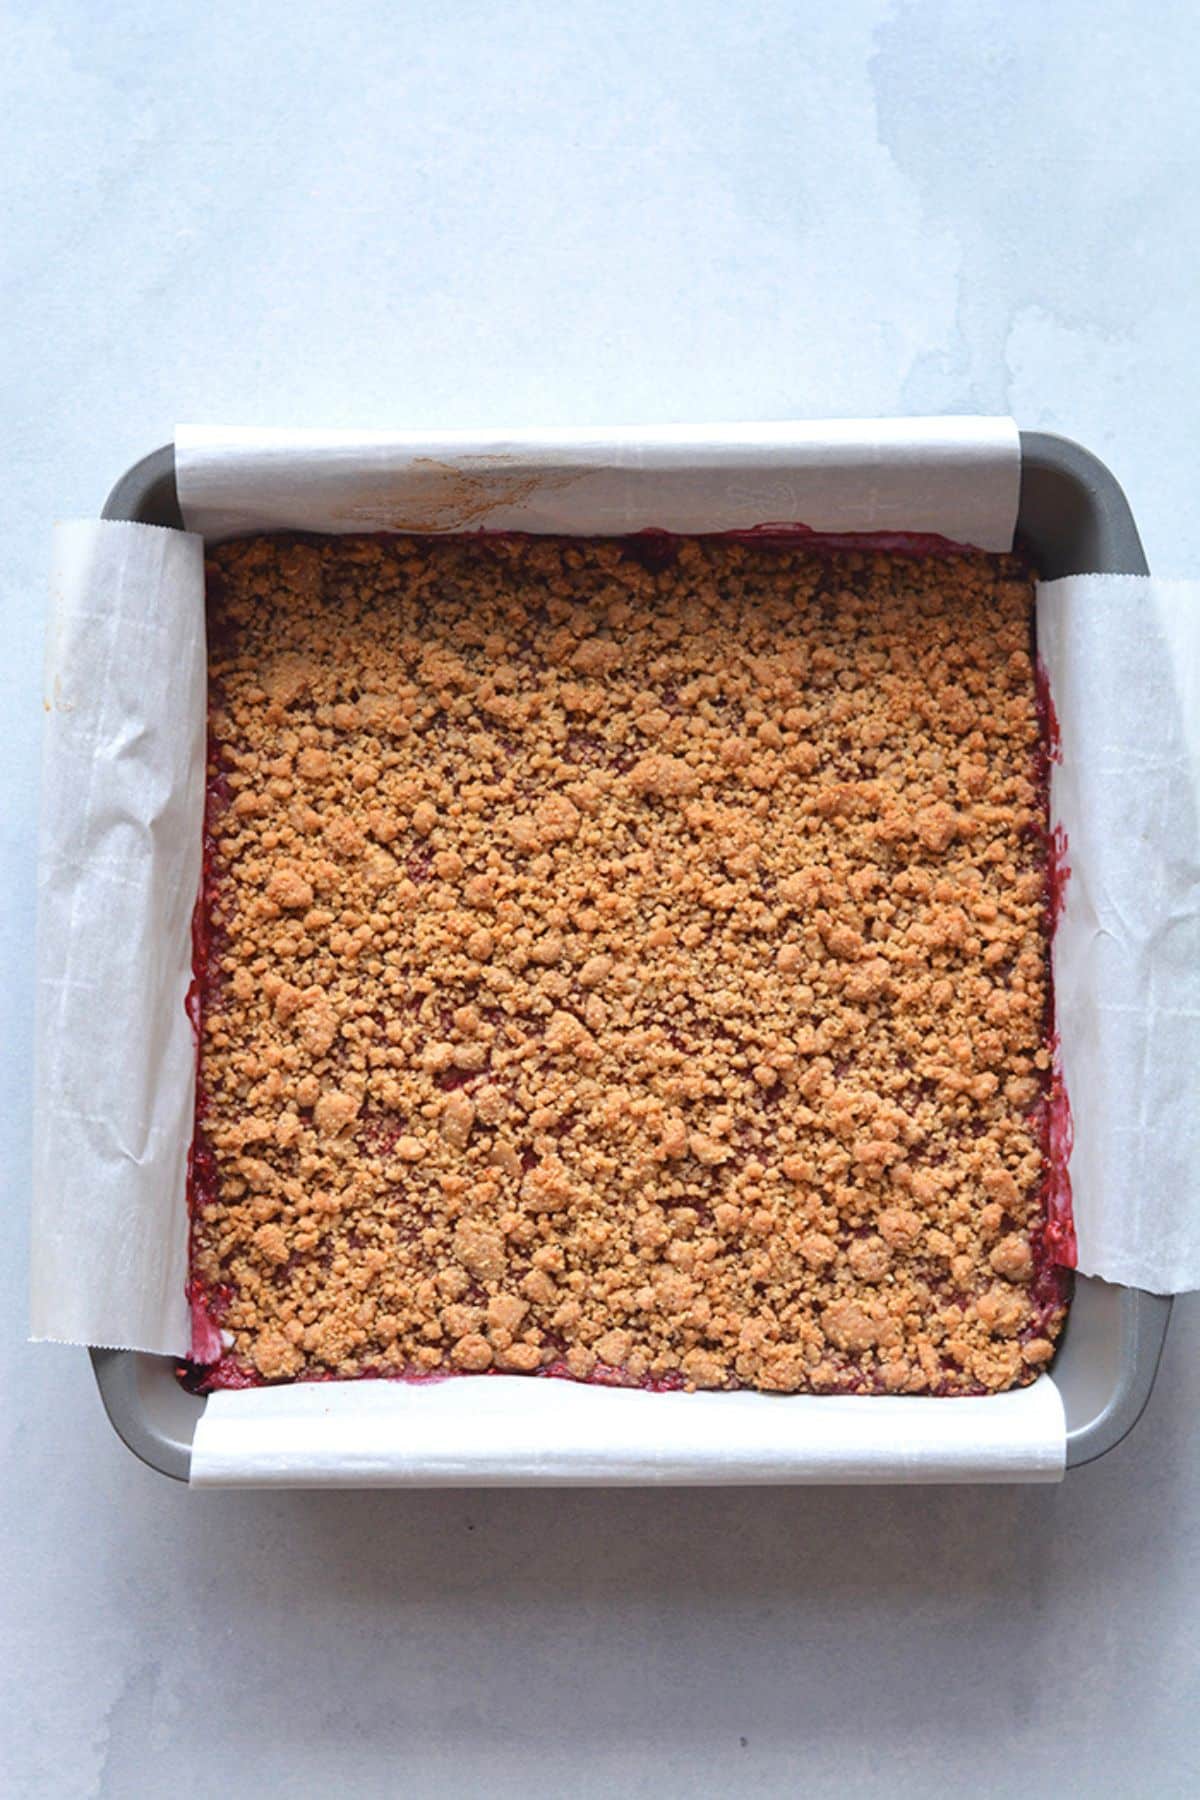
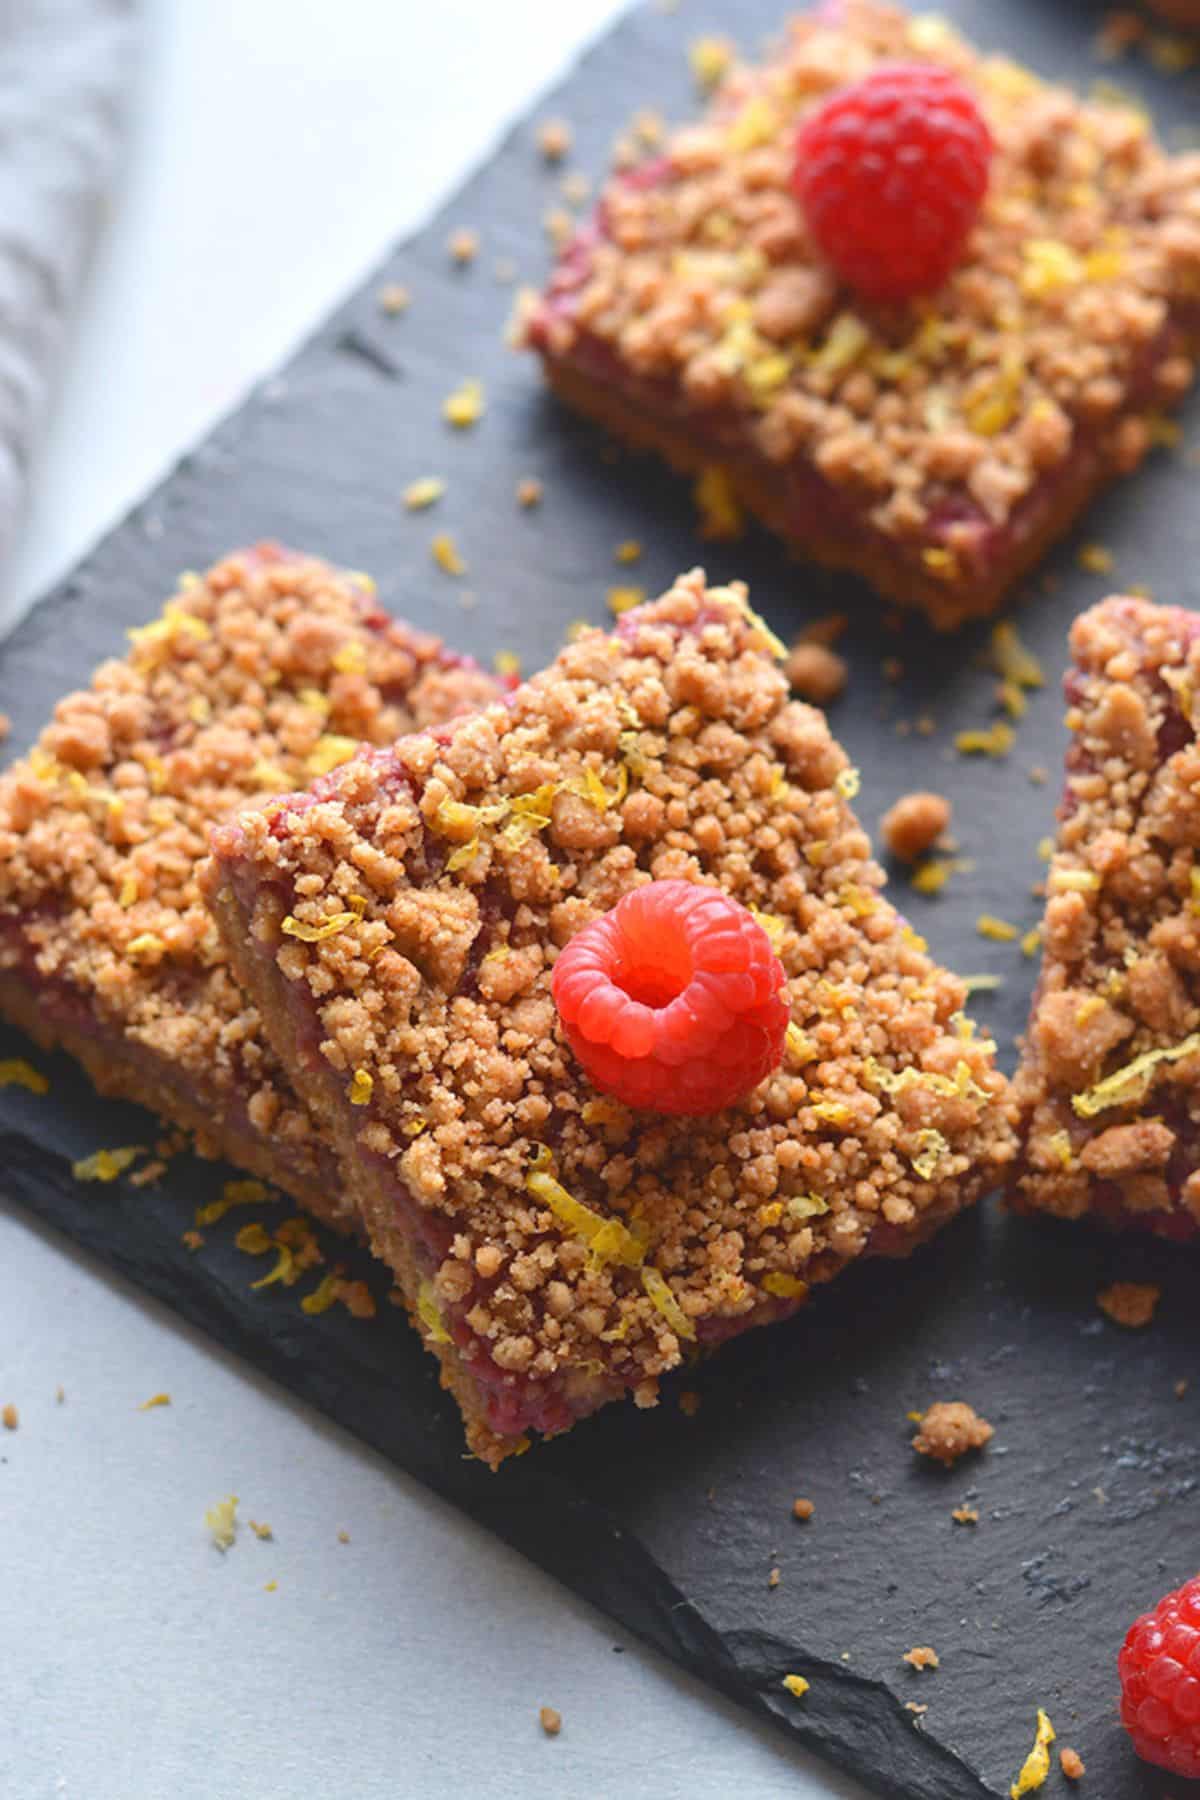
- Step 4: Top with Dough Crumbles and Bake. Pour the filling over the top of the crust in an even layer. Sprinkle the remaining dough over the top of the filling and bake the bars at 350°F for 25 minutes. Remove the bars and let them cool at room temperature for 5 minutes, then sprinkle lemon zest over the top. Place the cooled bars in the refrigerator for 20 minutes to chill before slicing them.
Expert Tips
- Properly Measure the Flour: Ensure your baked goods aren’t dry or crumbly, and measure flour properly when baking with gluten-free flours.
- Let the Filling Thicken: Avoid a drippy filling by giving the raspberry mixture time to thicken. Simmering the berries with arrowroot powder and then letting the mixture cool helps it achieve a thickened, jelly-like consistency.
- Be Sure to Line the Pan Properly: It’s important to properly line your baking pan with parchment paper. Cut the paper into strips that hang over the sides of the pan and lay them perpendicularly over each other. This makes the bars easy to lift right out of the pan to cut into bars.
- Storing: Since these bars are vegan, you can leave them out at room temperature for 2 days or store in the refrigerator for 5 days in an airtight container. You can also cut the bars, wrap them individually, and freeze them up to 3 months.
Serving Suggestions
These berry bars make for an excellent dessert all year round, but they’re especially delicious in the spring or summer. They are light, nutty, and sweet, and work for so many different lifestyles and diets.
Make these bars for a spring patio picnic, a bridal shower, or a dinner party dessert. No matter when you make them or where you serve them, they are sure to be a hit!
- Light berry dessert bars pair well with lemony pasta dishes like lemon herb salmon zucchini.
- If you’re hosting a garden party or shower, try serving these bars with delicious seafood dips like smoked salmon dip or warm crab dip.
- Turn your raspberry dessert bars into a snack to fuel your afternoon by pairing them with a high-protein strawberry smoothie.
Gluten-Free Raspberry Bars Recipe FAQs
Your bars are falling apart because they are still too warm to cut. Let them chill for at least an hour in the refrigerator before slicing them. If they still seem a bit crumbly, chill them for another 30 minutes to an hour.
If your crust won’t press together, then there probably isn’t enough fat in the dough. Blend in a bit more nut butter until the dough is crumbly but presses together.
Sure! I find the crust for these bars works even better if you chill the bars for an hour or two, or even overnight before cutting. This helps it thicken and become easier to work with.
More Delicious Healthy Dessert Bar Recipes
Desserts
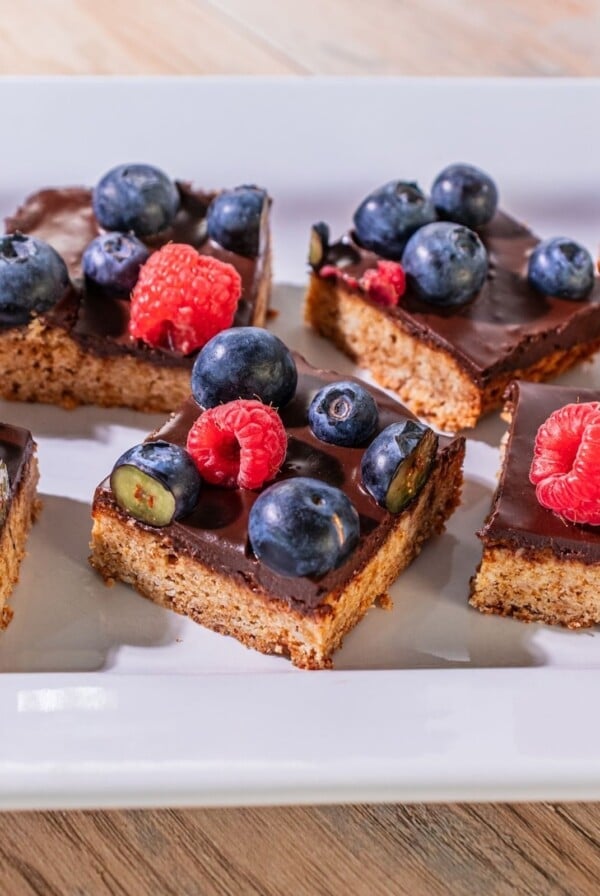
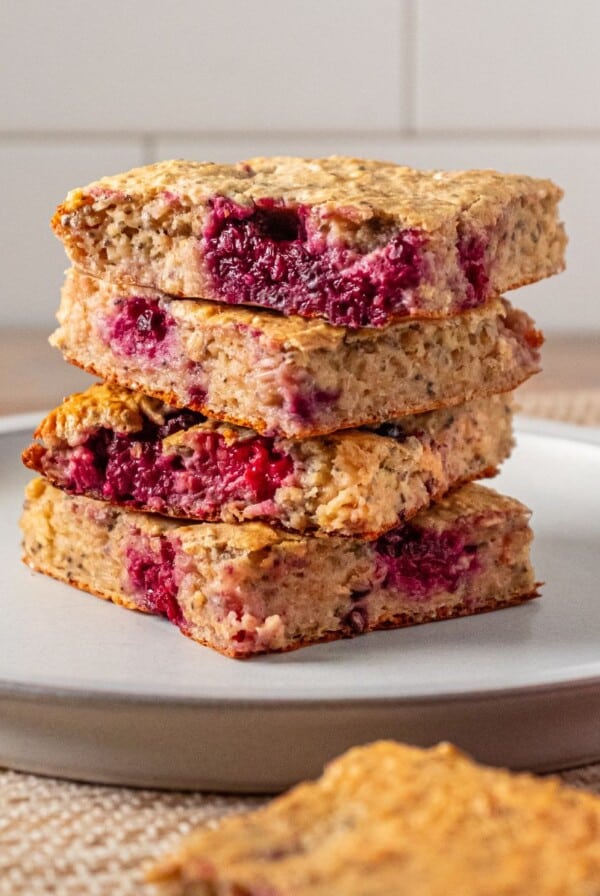
Gluten-Free Berry Bars
Breakfast
Cottage Cheese Bars

Desserts
Healthy Key Lime Pie Bars
Desserts
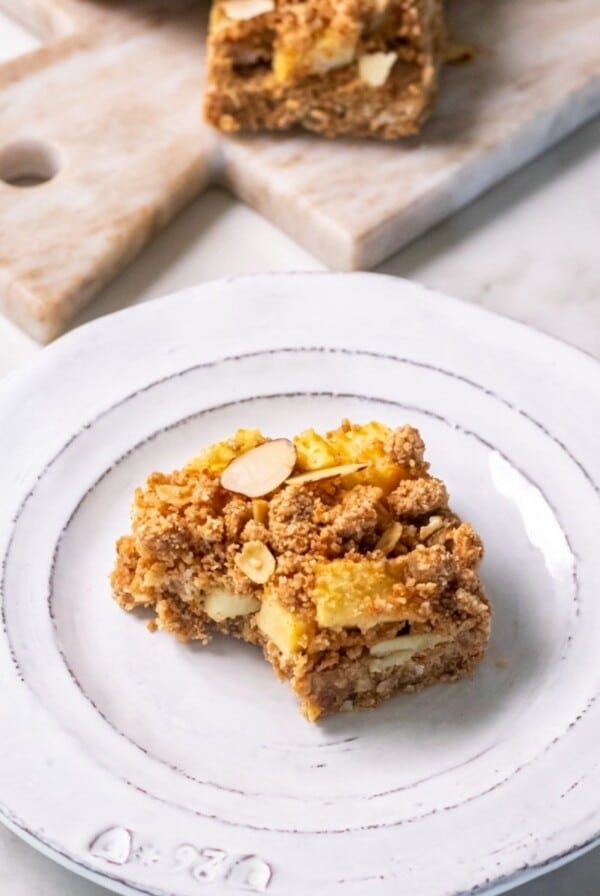
Healthy Apple Oatmeal Bars
If you tried this Gluten-Free Raspberry Bars recipe or any other recipe on my website, please leave a 🌟 star rating and let me know how you go in the 📝 comments below.
Gluten-Free Raspberry Bars
Equipment
- Standing Mixer
- 8×8 Baking Pan
Ingredients
For the Crust
- 1 ½ cups Almond Flour
- 2 tablespoons Almond Flour
- ⅓ cup Coconut Flour
- ½ cup Peanut Butter, or almond butter
- ¼ cup Coconut Sugar, or sugar of choice
- ¼ cup Olive Oil, or oil of choice
- ½ teaspoon Vanilla Extract
- ½ teaspoon Baking Soda
- ¼ teaspoon Salt
Raspberry Filling
- 2 cups Raspberries
- 2 tablespoons Coconut Sugar, or sugar of choice
- 1 tablespoon Lemon Juice
- 1 tablespoon Arrowroot Powder, or cornstarch
- 2 tablespoons Lemon Zest
Instructions
- Preheat the oven to 350 F. Prepare an 8×8 baking pan with parchment paper.
- In a standing mixer, add the almond flour, coconut flour, baking soda and coconut sugar. Blend to combine then remove from the mixer and transer to a bowl.
- To the standing mixer, add the peanut butter (or almond butter), vanilla extract, salt and coconut oil. Blend until combined then add the flour mixture to the wet ingredients.
- Blend the ingredients until the mixture is crumbly.
- Transfer 3/4 of the flour mixture into the prepared baking pan to form the crust. Press the dough together using your fingers into the bottom and corners. It will easily stick together.
- Bake at 350 F for 10 minutes.
- While the crust bakes, prepare the raspberry filling by adding the raspberries, coconut sugar and lemon juice to a saucepan.
- Bring the saucepan to a medium heat while breaking up the berries with a whisk or spatula.
- Once the berries are broken up, stir in the arrowroot powder. Let the filling simmer until thickened about 5 minutes then set aside to cool.
- Remove the crust from the oven and cool at room temperature 5 minutes.
- Spread the raspberry filling over the top of the crust in an even layer. Sprinkle the remaining 1/4 dough over the top of the raspberry filling.
- Bake at 350 F for 25 minutes.
- Remove from the oven and cool 5 minutes at room temperature. Sprinkle the lemon zest over the top then finish chilling the bars in the refrigerator 20 minutes before slicing and serving. The longer they chill the better they taste and easier they are to cut.
Video
Notes
- Make the crust an hour in advance and chill it in the refrigerator to make it easier to work with. It can also chill overnight.
- Give the filling time to thicken. It needs to have a jelly-like consistency so it doesn’t drip.
- Properly measure your flour so that the crust has the correct texture. Use the spoon-in method rather than scooping the flour with your measuring cup.
Nutrition
Nutrition information is automatically calculated, so should only be used as an approximation.