This post contains affiliate links. As an Amazon associate I earn qualifying purchases. Click here for more about this policy.
I’ve received a lot of reader requests lately for a post on food photography. I’ve said this before and I’ll say it again. I never thought I’d be able to take a picture if my life depended on it.
I remember taking pictures in Toronto while on vacation three years ago and they were horrible. But after a lot of blood, sweat and tears and almost taking my DSLR out with a bat (like they did with the fax machine in the movie Office Space) I finally got the hang of it.
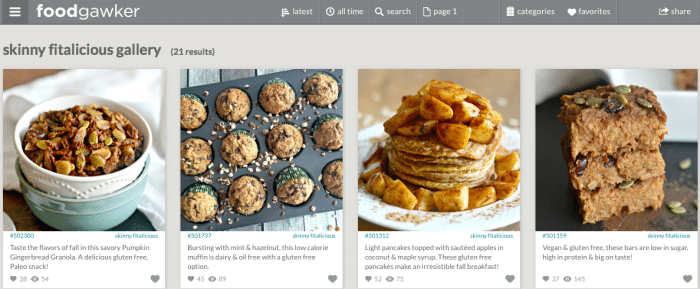
I admit I’m no photography expert, but I’ll tell you this. I doubled my pageviews in three months this year and had dozens of my recipes accepted to Foodgawker over the summer.
The photography had everything to do with that. Let’s be honest, readers want to see pretty food. You can have the tastiest, most delicious recipes but if the pictures don’t reflect that then the food won’t get the attention it deserves and I’m a believer that no good food should ever go to waste.
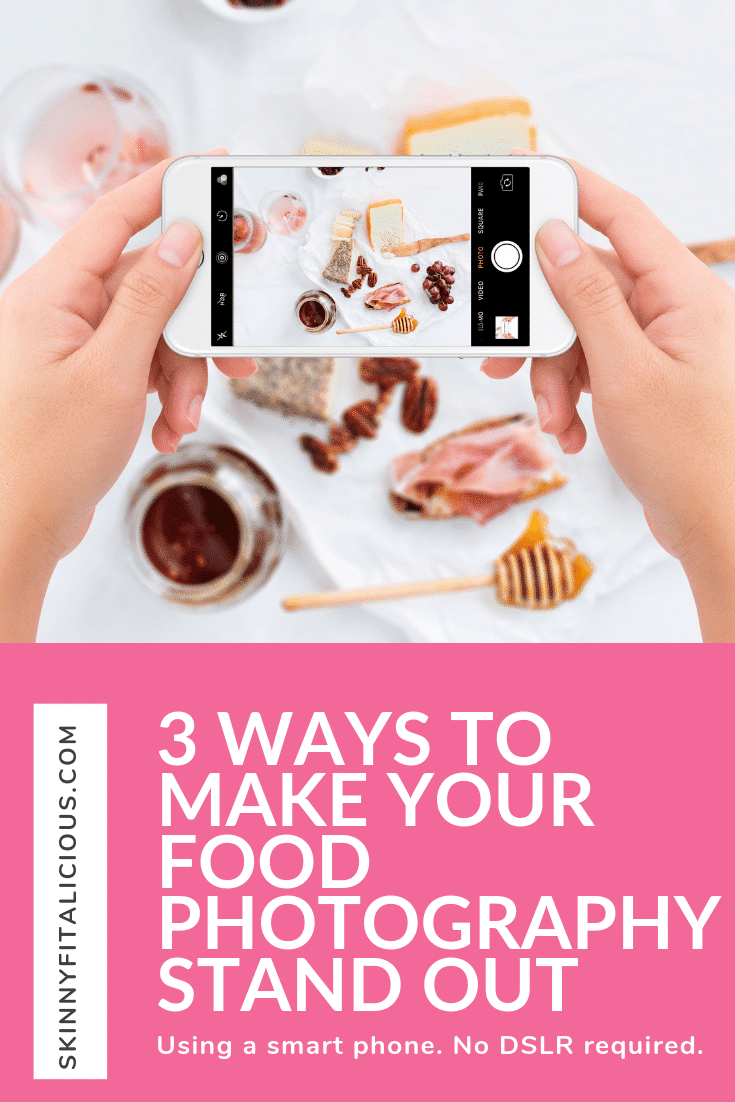
To help you, I’m sharing a three part series to give you 3 Ways To Make Your Food Photography Stand Out. I intended to do just one post, but it became a short novel so I broke into a three part series which I will post over the next three weeks. That way you can work on each tip each week. Whether you’re using a camera phone or DSLR these tips are for you! With that, let’s get to the first tip.
3 Ways To Make Food Photography Stand Out: Part 1
Tip #1: It’s Not About The Camera
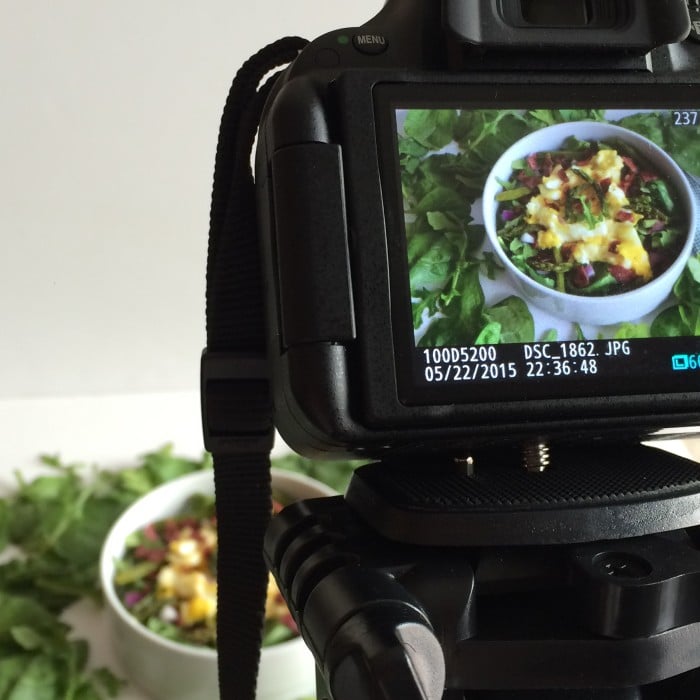
The questions I get are always along the lines of – Help! How do I use a DSLR? What kind of camera should I buy, I can’t switch the lens of my camera, how do I take better pictures? What camera do you use? What advice do you have for a newbie food blogger? Do you think I’ll take better pictures if I buy a DSLR? This is the DSLR I have.
The truth is taking good food pictures has nothing to do with the camera. I’ve taken just as many Foodgawker worthy pictures using an iPhone as a DSLR. It’s not the camera that makes the picture good or bad.
Taking good pictures is about good lightning. People used to say this to me and I had no idea what they meant so let me see if I can explain. When light hits an object, it brightens the object. It makes shapes, curves, colors and dimensions stand out that the eye wouldn’t naturally be drawn to.
If the food you’re shooting is already dull say like a muffin or cookie, then having bad lighting is going to contribute to it looking even duller and flat and no one wants to pin that. There’s a lot of ways you can create light, but the easiest is shooting in natural light with a simple backdrop.
The first thing is to figure out what time of day the light is brightest in your home and also note that it will change throughout the year. Then take an object around to the windows in your home, take a picture with the object in front of each window and find where the light captures the image best.
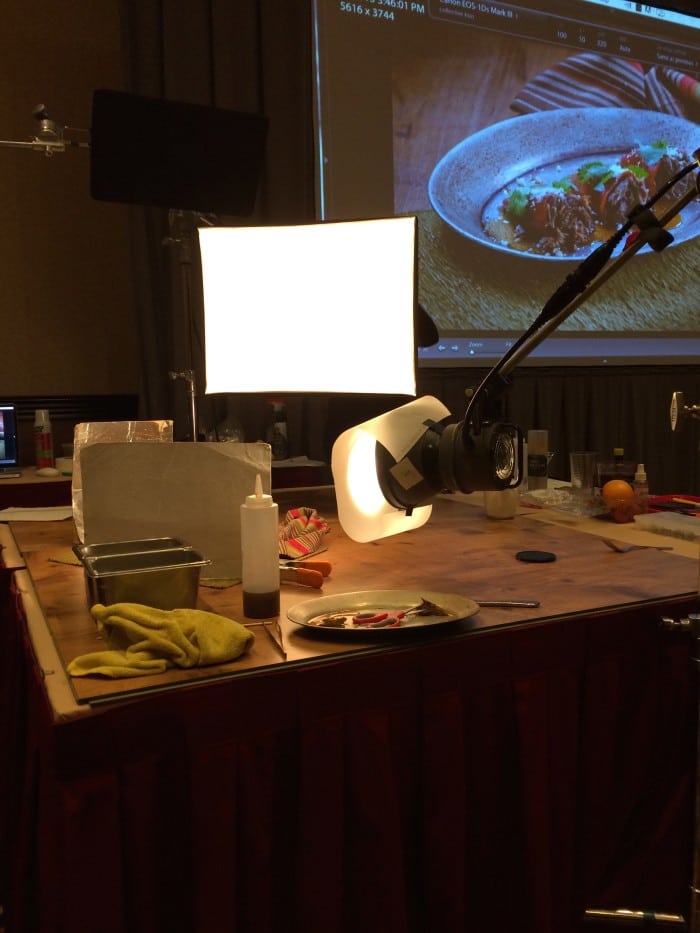
Once you’ve found your shooting ground, setup a DIY photo box. There’s a lot of ways you can do this. Julie has an awesome tutorial for this. I have a somewhat unique situation in that I have a 12 foot wide patio door in front of my kitchen that brings me more Arizona light than I know what to do with. Sometimes I use a photo box and sometimes I don’t. During the summer, I need to block light out because there’s actually too much.
Once your setup your photo box, play with shooting an object into the light, away from the light and perpendicular to the light (my personal favorite). Then use photography editing software like Canva, PicMonkey or Photoshop to increase the exposure, colors and sharpness of your images as needed.
One important note. Never ever EVER shoot with the lights turned on in your house or with a flash. Those pictures are guaranteed to be doomed. It’s also very obvious. I’m sure you’ve had a time when you’ve tried on clothes at a store and you got home they looked horrible on you. The same goes for food.
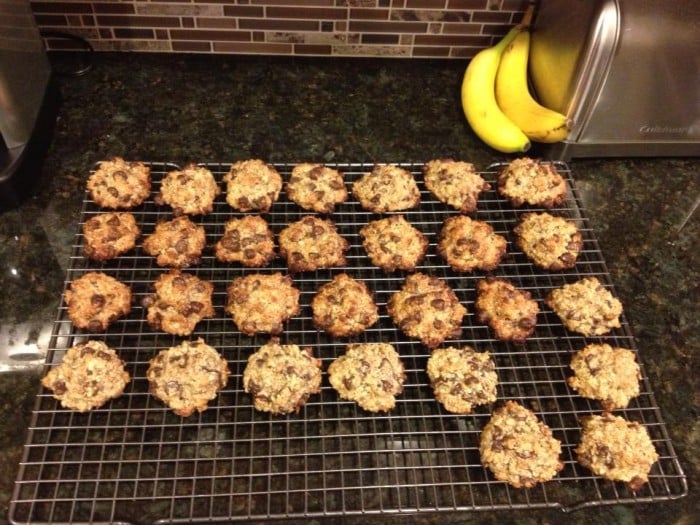
Here’s one of the first pictures I snapped of Oatmeal Banana Chocolate Chip Cookies with the lights on. It’s not as bad as others I’ve taken, but you can see the light reflecting in the middle left counter and reflecting off the appliances. It casts a yellow haze on the food. The light is so bright it takes away from the quality of the food. It’s a shame, those are some really good cookies. Another recipe redux for another day.
If your lighting is low, you have a few options. The best thing obviously is to shoot the next day when it’s brighter, but if that’s not an option then you can shoot in low light and brighten the exposure in editing.
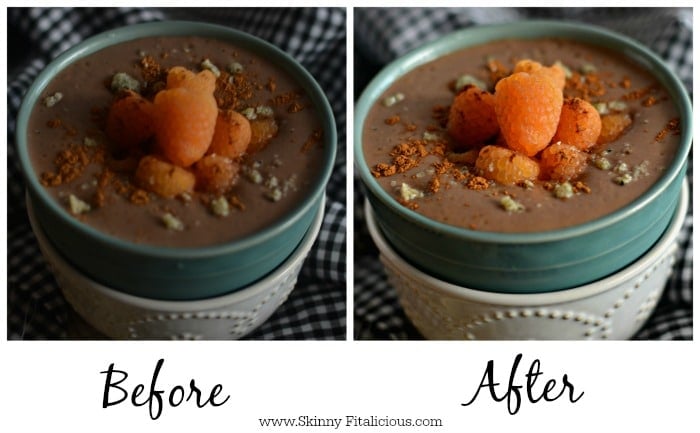
Here’s a before and after of Pumpkin Acai Bowl. The light was low when I snapped this picture. It was a rare day in Arizona. But with editing, I was able to brighten the exposure, highlight, crop and rotate to make it better.
I probably could have gone even brighter with the exposure on the final picture, but I like the mysteriousness of the lower exposure. That’s just my personal preference which by the way, Foodgawker doesn’t approve of. Bottom line is don’t underestimate what you can do with editing and don’t be scared to play with it!
Artificial lighting is another option you can explore. I have not worked with artificial lighting yet. Living in Arizona, I really don’t need to because it’s sunny and bright almost every day. This winter when the days are shorter, I plan to play around with it. It definitely requires more equipment and messing around with your shooting location, getting the right placement of everything and covering shadows.
So there you have it! My first and most important tip for you with two more to come. If you haven’t already, I highly recommend you purchase this photography book. It’s what I used to improve my pictures and I am constantly re-reading it. It’s a small price to pay for something that will pay you back over and over again.
Also, checkout my store for my photography favorites. These are tools and props I use and as I discover new ones, I add them to the store so be sure to check back from time to time. Snap happy!


Great tips! I’ve been wanting to improve my food photography for years but since I’m not technically a food blogger, I haven’t really put the effort in. This is a great, quick and easy tutorial! Thanks!
Thanks Britt! I was trying to keep it simple. Two more tips coming in the next two weeks so be sure to check back!